The right playground border will do so much more than just trace the outer edges of your playground area. A proper playground border will also add considerable curb appeal to the play space near you. Good playground borders also rein in the playground fill material you chose.
There are several decisions to make when choosing playground border ideas. These include the material your playground border is made of, its color, and its shape. It is also important to properly measure the actual length of your border and consider border features for inclusive play.
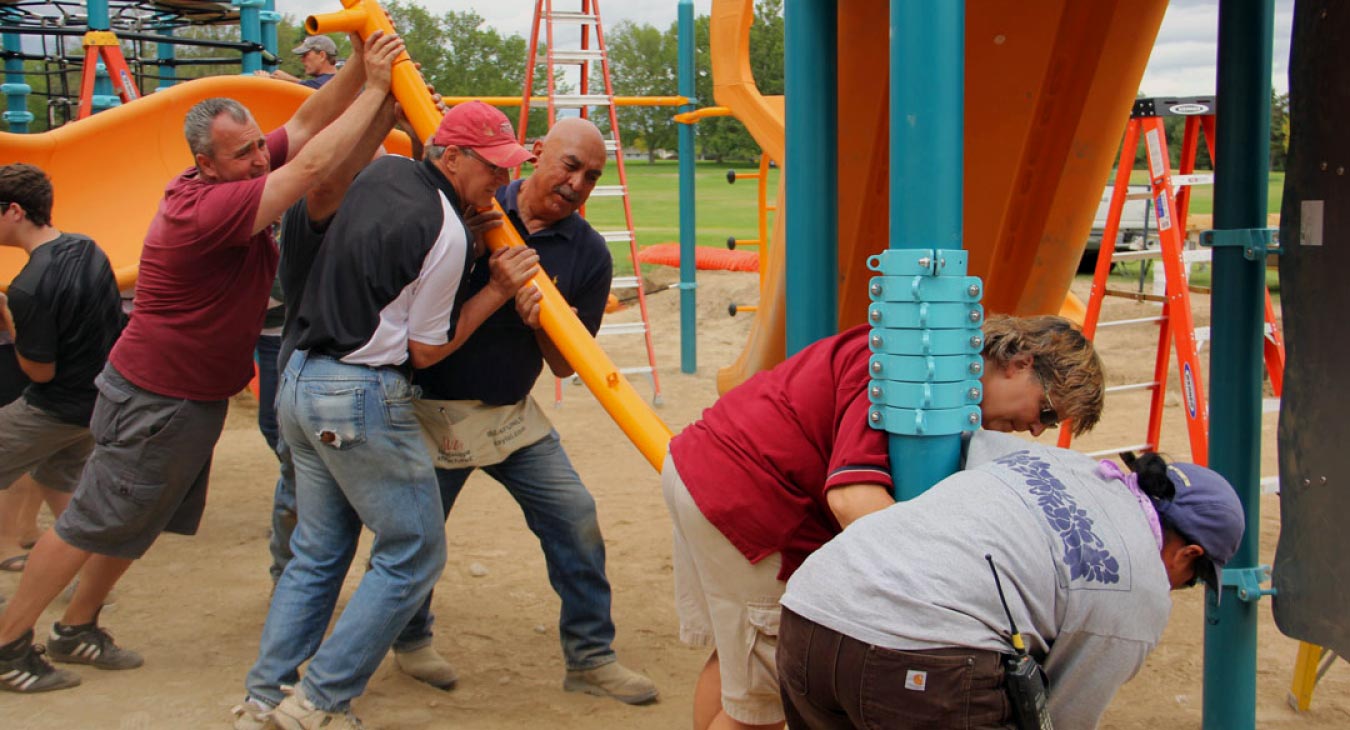
This article will provide you with a basic overview of the types of edging there is to choose from, as well as a step-by-step guide to teach you how to build a playground border. Building a playground border is a rewarding weekend project for homeowners and community advocates.
Types of DIY Borders
Borders are so essential for a fun and rewarding playground of any size. While they may seem like just an aesthetic touch, edging around the perimeter of your playground will promote longevity and safety for the play area.
Purchasing a playground border from a manufacturer is a considerable expense on an already costly project like building a playground. But there is good news! Several DIY playground border options are available to help save money while not compromising on the benefits of edging.
Plastic
The plastic playground border products are an excellent option to define the boundaries of your playground area. You have most likely seen these types of playground edging at neighborhood parks, play areas at daycares or churches, and these plastic borders are often used at schools.
Lengths of molded plastic are lined up around the perimeter of the play area and secured into place with border spikes. Because these pieces are specifically manufactured for playground borders, they fit perfectly and are very safe and secure.
These plastic playground borders provide everything you will need for a reliable and straightforward installation. Choose from 8-inch to 12-inch tall borders, get replacement border spikes, and explore classic or faux stone designs for your playground border.
These plastic playground borders are smooth and will not injure or cause a splinter for a child. They will also stand up to the constant weather strain for many years. Plastic playground borders come in many vibrant colors and fun shapes to add character to your play area.
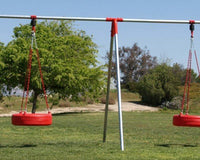
Tires
If you are looking for a recycling solution and a very inexpensive DIY playground border, using old and discarded tires is a great option to do both. Because tires are not biodegradable, they must be recycled to disappear.
You may already be using recycled tires in your playground structure in the form of rubber mulch. This shredded tire mulch also recycles tires destined for a landfill. Combining the rubber mulch and tire playground border is a fun and whimsical touch for your playground area.
The first thing you need to do to use tires for a DIY playground border is to locate as many recycled tires as possible to place around the perimeter. You will simply line them up, tire to tire, until they make a solid boundary around your playground area.
To keep the tires secure in their place and to add additional character to your playground, use the tires as garden planters! Plant flowers, herbs, vegetables, fruits, and more easily into the middle of the tire and enjoy a charming, multifunctional DIY playground border.
Wood
Using wood is another great way to install an affordable playground border. One inexpensive type of lumber is landscape timbers, often called railroad ties. This type of wood is three to six-inch thick wood boards that are commonly used in outdoor projects like fences or garden beds.
Stack up and secure these landscape timbers together for a straightforward playground border you can build yourself. Keep the wood natural for an outdoorsy look or paint and decorate the lumber however your heart desires.
Since the recommended depth for playground fill materials is three inches for home playgrounds and six inches for public playgrounds, include as many timbers as necessary to keep the surface material contained.
Logs
If you would like to transform your playground area into a whimsical fairy getaway, try this look of vertically stacked logs for your DIY edging. If you have a fallen tree or other large logs that need to be recycled, chainsaw it into smaller log portions for this DIY playground border.
Slice the log pieces into identical lengths for a more uniform log cabin look. For a more rustic and charming look, get a little creative and cut the logs into all sorts of different sizes. When you have all the pieces you need, place them upright vertically in a tight formation.
This rustic arrangement can be a little more dangerous than others listed, as the rough edge of a tree is considered your border. On the other side, this border idea instantly gives you many seating options and other surfaces from all the lined-up logs.
Step-by-Step Guide
To make your own playground border, follow these basic steps.
Gather All Materials and Tools
Some DIY playground borders may require finishing for safety or aesthetics. Grab wood stain, decorative paints, and sandpaper to ensure the playground border is ready for fun.
Have a hammer or mallet handy for getting your border into place. You may need a sander to help ensure your wooden playground border is safe for others to interact with.
Make sure you have raked around the border and hosed down the dirt to prepare for installing weed-blocking fabric next. A rake will be needed to spread your mulch.
Prep the Area
In order to have a safe and effective playground border, the ground the border rests on must be even. Grade the area as best as you can to provide a flat and firm surface. Use a rake, shovels, and other tools to distribute the dirt evenly.
The border needs to rest on a flat surface to do its job. A border on an uneven surface can buckle and fail, causing a safety hazard. If the border shifts while someone is resting on it, this can cause an accident or injury.
If you are completing a total playground makeover, the next step after installing the playground border is to put down landscaping fabric to block weeds. Pull any weeds near the border to help stop weeds from developing near the edging of the playground as well.
Don’t forget to hose down the dirt in your playground area. This will help to make your working surface more pleasant with less dust being kicked up. Wet grass is also much softer, making it easier to pound the spikes into the dirt and secure the borders.
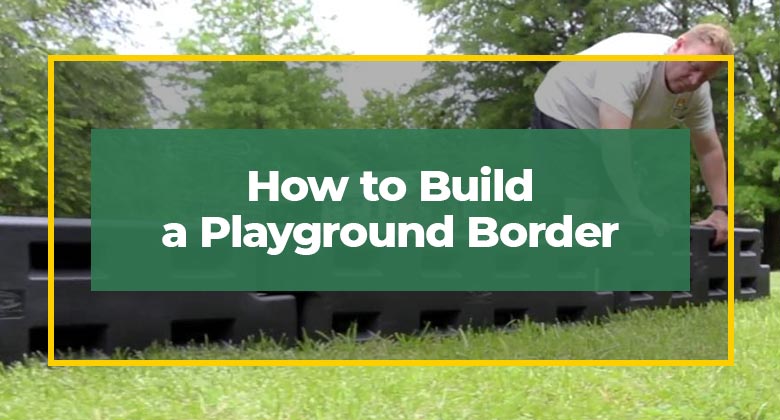
Use Hammer Spikes
When it’s time to install your plastic playground borders, they are indeed a cinch to put into place. These plastic playground borders come with a metal spike you drive into the joint of the two border pieces. This process looks similar to the procedure for pitching an outdoor tent.
These spikes are available in eight-inch or 12-inch lengths, depending on the type of plastic playground border you choose. Replacement spikes are readily available online for quick repairs, so the fun never has to stop!
Set Your Borders
After the spikes have been hammered into place, walk the perimeter of the play area to secure the borders. This will be done by completing a final hammering of the spikes and making sure the entire edge has been covered.
Shop Our Playground Borders
Spread Mulch
One of the benefits of a playground border is the ability to keep the playground mulch where it is supposed to be. Mulch can spread out or be tracked away from the playground area without a border.
Not only does uneven mulch not look like a pleasant or well-maintained playground, but it also presents a safety issue. It is recommended for private playgrounds in backyards to have at least three inches of playground surface material like wood mulch, rubber mulch, or sand.
Shop Rubber Mulch
Public playgrounds must have at least six inches of playground material to be considered safe. Consider adding even more playground material in high fall zones for additional safety.
This mulch cannot be contained without a border. Once the border and weed blocking material is in place, evenly distribute the mulch throughout the newly closed-in space using a rake. Now your playground is officially ready to be safely enjoyed by all ages!
Conclusion
Building a playground border is a practical and rewarding do-it-yourself project for anyone. Be sure to choose the playground border that best fits your needs and communicates the unique flair of the backyard, school, church, or neighborhood playground that you love.
There are manufactured playground borders and DIY playground borders to choose from, all with their own unique advantages and disadvantages. From plastic playground borders to borders made of recycled tires or lumber, playground borders are essential for safe play.